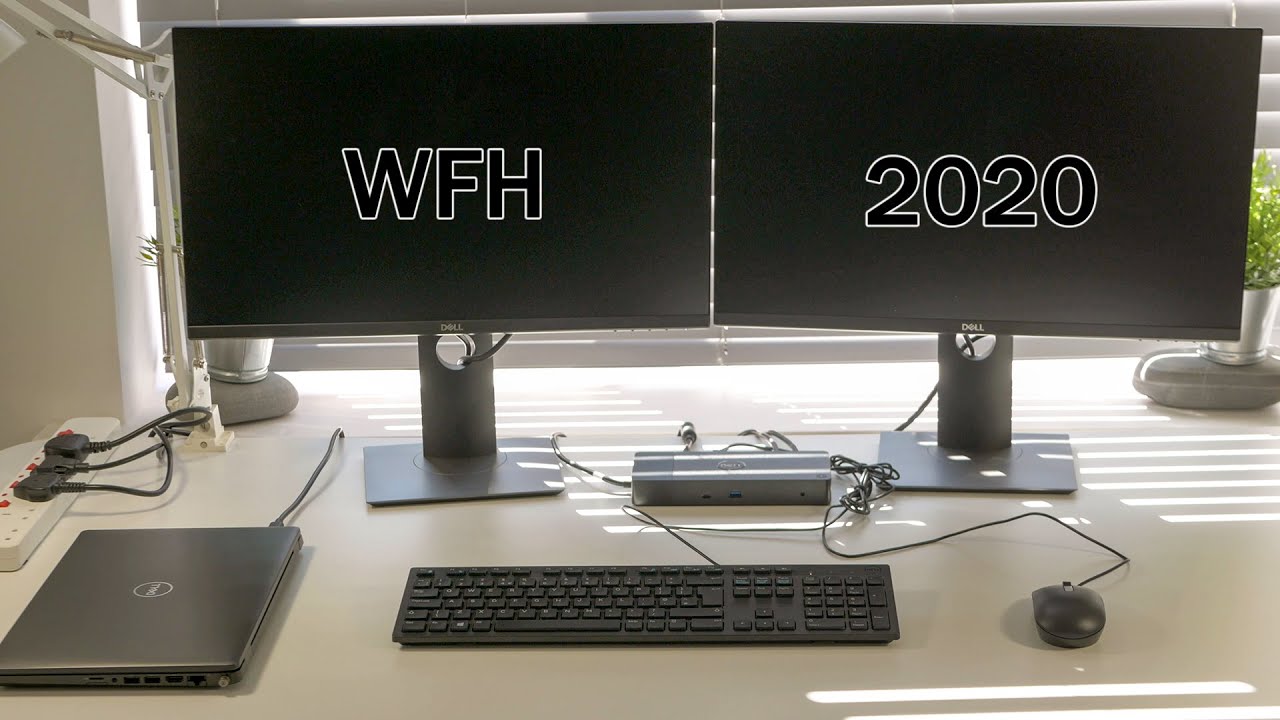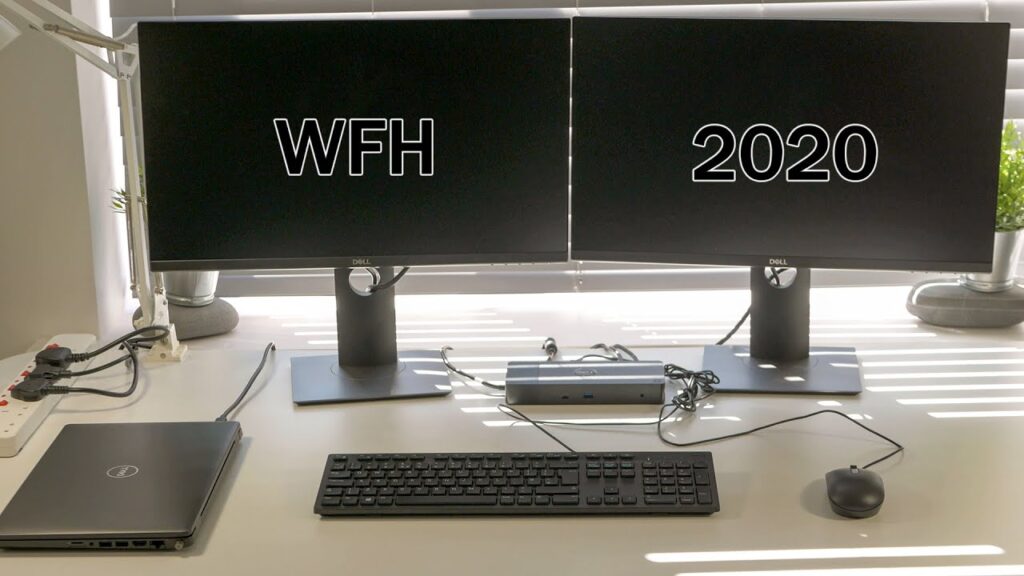
In this informative video by Eds drafts, you will find a detailed guide on setting up a dual-screen setup for your DELL Work From Home Laptop. Eds drafts aims to assist colleagues working remotely by providing step-by-step instructions on connecting their laptops to dual monitors and a port replicator or dock. The video covers various aspects, including laptop connectivity, port replicator overview, monitor assembly, wiring, and powering up. Eds drafts uses specific DELL products such as the Latitude 5400 laptop, WD19 180W port replicator, P2419H monitors, and a DELL keyboard and mouse. Whether you have the same DELL models or similar ones from brands like Lenovo, this video offers valuable insights into setting up your home office for improved productivity.
Laptop Connectivity Overview
Your laptop, in this case, is the Dell Latitude 5400, but other models like Lenovo also have similar capabilities. On the left side of the laptop, you have a power port for charging, a USB port for data, video, audio, and charging, and a USB Type-A port for connecting peripherals like a keyboard or mouse. On the right side, you have an Ethernet port for wired internet connectivity, an HDMI port for connecting to a monitor or TV, two USB Type-A ports, and a micro SD card reader.
Port Replicator Overview
The port replicator, or dock, is a convenient device that allows you to connect multiple peripherals to your laptop with just one cable. On the back of the port replicator, you have line out, two display port connectors for connecting the monitors, HDMI, USB Type-C for audio, video, and charging other devices, USB Type-A for a keyboard and mouse, Ethernet connector, and the power connector. On the front, there is a USB Type-C port, a USB Type-A port, and an audio headset port. There is also an on/off button on the top of the device, which allows you to power on or off the laptop without opening the lid.
Monitor Overview
The monitors used in this setup are the Dell P2419H models. These monitors are affordable and offer features like rotation, swivel, and tilt. They have various connectivity options on the back, including two standard USB ports, VGA, display port, HDMI, and a power connector. The display port is used to connect the monitor to the port replicator and the laptop.

This image is property of i.ytimg.com.
Monitor Assembly
To assemble the monitors, start by attaching the stand arm to the base of the monitors. Tighten the screw by hand to secure it in place. Next, connect the provided power cable and display port cable to the monitors. If you need additional USB connectivity, there are two USB ports available on the back of the monitor. Once the cables are connected, you can rotate the monitors 90 degrees for the desired setup.
Cables and Accessories
In addition to the display port cable and power cable provided with the monitors, you will also need a USB cable to connect the keyboard and mouse. Additionally, you may need an extension lead to power all the devices in the setup. The extension lead allows you to connect the power plugs of the laptop, port replicator, and monitors.
Wiring up the Monitor
To wire up the monitor, connect one end of the display port cable to the display port connector on the back of the monitor. The other end of the cable should be connected to the display port connectors on the port replicator. If you need more USB connectivity, you can also use the USB ports on the back of the monitor to connect peripherals like keyboards or mice.
Wiring up the Port Replicator
To wire up the port replicator, connect the USB A cable from the keyboard and mouse to the USB Type-A ports on the back of the port replicator. This will allow you to use these peripherals with your laptop. Additionally, ensure that the power connector is securely plugged into the port replicator, as it provides power to the device and charges the laptop.
Wiring up the Laptop
To wire up the laptop, use the USB Type-C cable provided with the port replicator to connect the laptop to the port replicator. This cable provides charging capability to the laptop. Once the cable is connected, plug the other end of the cable into the laptop’s USB Type-C port.
Powering all Up
After wiring up all the devices, connect the power plugs of the laptop, port replicator, and monitor to the extension lead. Ensure that the power is provided to all the devices. The laptop’s power button should light up when it receives power. If it doesn’t power on automatically, press the on/off button on the port replicator to power on the laptop. Once all the devices are powered, you can enjoy your setup.
Conclusion
Setting up a dual monitor and port replicator setup for your home office can greatly enhance your productivity while working from home. With the right cables and accessories, you can easily wire up the monitors, port replicator, and laptop. By following the steps outlined in this article, you can create a seamless and efficient workspace. Good luck with your setup!
In order to set up your DELL Work From Home Laptop Dual Screen Setup, you will need the following devices:
- DELL Latitude 5400 laptop
- DELL WD19 180W port replicator (dock)
- DELL P2419H monitors
- DELL keyboard & mouse
This video aims to assist you in properly configuring your laptops by connecting them to dual monitors using a port replicator or dock.


