In the world of DIY, DIY Perks has created a captivating video tutorial on building a USB-C touchscreen monitor using brass. This unique and elegant monitor is compatible with modern devices and offers flexible functionality. The tutorial covers the process of using an LCD panel from old laptops and pairing it with a control board purchased separately. The tutorial also highlights the advantages of using brass for the frame construction, showcasing its robustness and slimline design. Additionally, the video includes affiliate links, which means that DIY Perks may earn a commission if viewers click on these links and make purchases from affiliated merchants. This tutorial is an exciting and informative guide for anyone interested in building their own USB-C touchscreen monitor with a touch of elegance.
DIY Perks: Commission Earnings from Affiliated Merchants

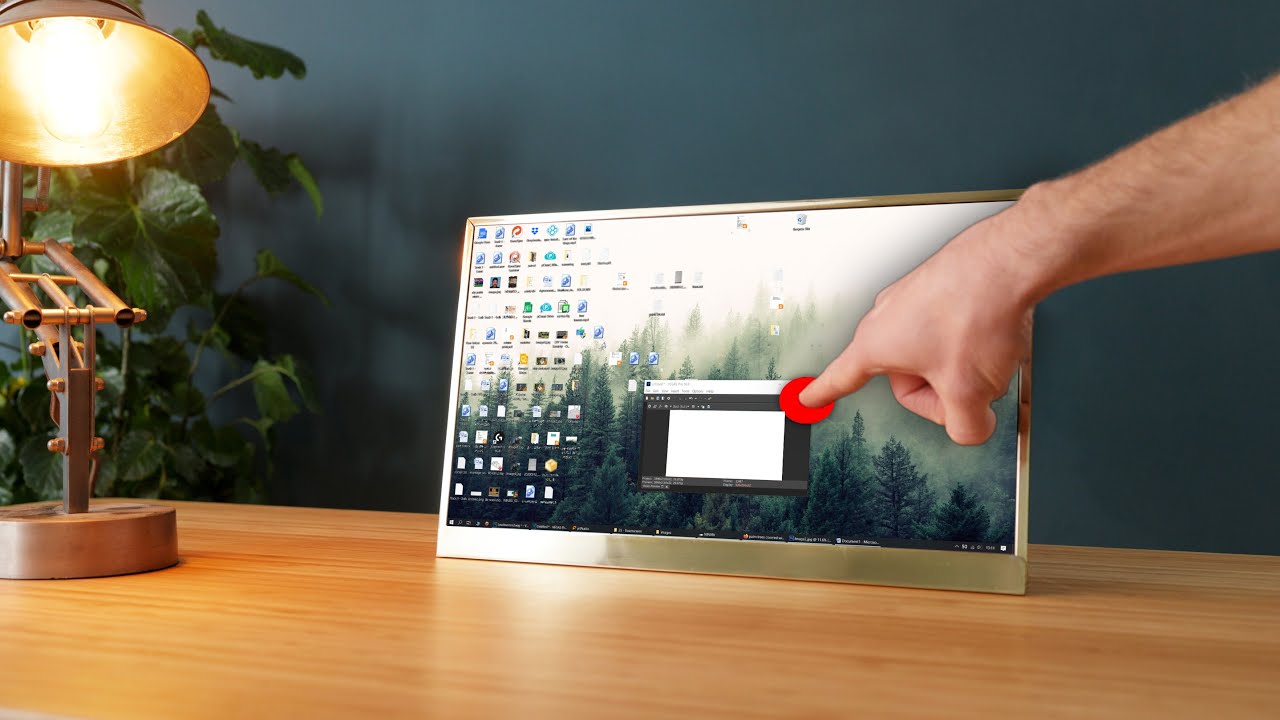
This image is property of i.ytimg.com.
Introduction
Welcome to DIY Perks, the go-to channel for all your DIY projects and creations. In this comprehensive article, we will delve into the world of building a DIY USB-C touchscreen monitor. Not only will we provide you with a step-by-step guide, but we will also discuss the materials and tools needed, the selection process for LCD panels and control boards, and the construction of the frame using brass. Additionally, we will explore how to add support legs, create a chamber for the control board and battery, and power and connect the monitor. To top it all off, we will discuss the versatile uses of this DIY monitor and its benefits. So let’s get started!
Building a DIY USB-C Touchscreen Monitor
DIY Perks has created an exciting tutorial video that guides you through the process of building a DIY USB-C touchscreen monitor. With the ability to be connected to smartphones, laptops, and various modern devices, this monitor offers incredible flexibility and functionality. The video also showcases mini speaker units that can be used for a wide range of projects. By following this tutorial, you can create a unique and stylish USB-C touchscreen monitor that suits your needs perfectly.
Materials and Tools Needed
To embark on this DIY project, you will need a few essential materials and tools. The first item you will require is an LCD panel, which can be salvaged from old or dead laptops. However, if you prefer, you can purchase a new LCD panel. In addition to the LCD panel, you will need a separate control board that can be bought separately. This control board should have advanced features such as 4K resolutions, high refresh rates, touch support, and USB-C video input.
To construct the frame, you will need brass sheets and U-channels. Brass is a robust and elegant material that adds a sleek look to your monitor. Other necessary tools include soldering equipment, flux, a blowtorch, clamps, files, sandpaper, metal polish, a drill, screws, insulating plastic, and glue.
Step-by-Step Guide
It’s important to begin any DIY project with proper preparation and safety measures. Once you’re ready, you can start by disassembling the LCD panel carefully. After that, you can mount the control board and begin constructing the frame using brass sheets and U-channels. The frame should be designed to securely hold the LCD panel.
Support legs made from brass U-channels can be added to provide stability and adjustable angles for optimum comfort. Next, you can create a chamber on the back of the monitor to house the control board and battery. This chamber should be carefully crafted to allow ports on the control board to align properly.
To power and connect the monitor, you can use external batteries or chargers and connect it to various devices using HDMI or USB-C. Lastly, you can add small speakers to elevate your audio experience. Cover the speakers with brass mesh to maintain the overall aesthetic. Finally, perform a final assembly and testing to ensure everything is functioning as intended.
Selecting LCD Panel and Control Board
When choosing an LCD panel for your DIY touchscreen monitor, you have the option of utilizing old or dead laptop panels. This approach is cost-effective and allows you to give new life to these panels. However, for compatibility with external devices, you will need to pair them up with a control board. To find a suitable control board, you can search for the display’s model number on platforms such as eBay or Aliexpress, along with the phrase “control board.”
Alternatively, you can purchase new LCD panel sets that come with advanced features such as 4K resolutions, high refresh rates, touch support, and USB-C video input. These new control boards are thinner, allowing for a slimmer and more elegant construction.
Constructing the Frame with Brass
Brass offers several advantages as a construction material for the frame of your DIY touchscreen monitor. It provides robustness and allows for a sleek and slimline design. Additionally, brass can be soldered together, which eliminates the need for additional elements to secure the LCD panel within the frame.
To construct the frame with brass, you will need brass sheets and U-channels. Brass sheets serve as the backplate, while the U-channels create a secure border for the LCD panel. By cutting the U-channels into lengths that match the outer perimeter of the screen, you can create neat corners using soldering techniques. Remember to use flux before soldering and exercise caution to avoid excessive heating of the brass edging.
Once soldered and cooled, the frame can be sanded and polished to achieve a stunning finish. The result is a frame that not only provides structural support but also adds a touch of elegance to your DIY touchscreen monitor.
Adding Support Legs
Support legs are crucial for providing stability to the DIY monitor. Brass U-channels are ideal for creating sturdy and adjustable legs. By cutting two pieces of U-channel and clamping them together, you can drill pilot holes for screws that will provide the hinge action. Make sure to round off the corners with a file to allow for smooth opening and closing of the legs.
After polishing the legs for a sleek look, they can be soldered to the frame using the same techniques as before. The adjustable angles offered by the support legs allow you to customize the position of the monitor for optimal viewing and comfort.
Creating a Chamber for Control Board and Battery
To house the control board and battery, you can create a chamber on the back of the monitor. Brass U-channels can be repurposed to create this chamber. One side of the U-channel will require cutouts to align with the ports on the control board. This can be accomplished using basic tools, and the precise fit can be achieved through the workability of brass.
Instead of soldering, the cutouts can be attached with screws from the other side to ensure easy accessibility and maintenance. It is essential to countersink the screws to avoid interference with the LCD panel. This chamber provides a secure and organized space for the control board and battery, ensuring a clean and functional build.
Powering and Connecting the Monitor
The DIY touchscreen monitor can be powered by external batteries or chargers. This allows for flexibility and portability, as you can use a variety of power sources to suit your needs. The monitor can be connected to different devices using HDMI or USB-C. This versatility enables you to use the monitor with smartphones, laptops, and other modern devices. The USB-C connection also allows for touch data to be passed through seamlessly, enhancing user experience.
Adding Small Speakers
Enhance your audio experience by adding small speakers to your DIY touchscreen monitor. The speakers can be covered with brass mesh to maintain the aesthetic appeal of the monitor. This addition ensures that your DIY monitor provides not only stunning visuals but also immersive sound quality.
Versatile Uses of the DIY Monitor
Once you have completed your DIY USB-C touchscreen monitor, you will discover a range of versatile uses for it. Whether you connect it to your smartphone for a desktop-mode experience, pair it with a Bluetooth mouse and keyboard for a portable PC, or simply use it as a standalone monitor for your laptop, the possibilities are endless. The monitor’s flexibility and functionality make it a valuable addition to your DIY projects and daily activities.
Conclusion
In conclusion, building a DIY USB-C touchscreen monitor is an exciting and rewarding project that offers numerous benefits. By following the step-by-step guide provided in this article, you can create a unique and sleek monitor using brass as a construction material. The monitor’s compatibility with various devices, advanced features, and versatile uses make it a valuable addition to your DIY repertoire.
Additionally, DIY Perks offers affiliate commission earnings through affiliated merchants such as the eBay Partner Network and Amazon Associates. By clicking on the provided links and making purchases, you can support DIY Perks and continue to enjoy their informative and engaging content.
So why wait? Start your DIY journey today and create your very own USB-C touchscreen monitor with the help of DIY Perks. Happy building!
In this video, you will learn how to build a USB-C monitor. If you’re one of the first 1000 people to use this link, you can get a free trial of Skillshare Premium Membership: link.
For mini speaker units suitable for various projects, you can check out these links:
There is also a selection of interesting LCD panel sets available, which you can find through these affiliate links. By clicking and purchasing through these links, DIY Perks may earn a commission. The affiliate programs and affiliations include the eBay Partner Network and Amazon Associates.
If you’re looking for a battery protection board, you can find one here: Link
To learn how to make a DIY monitor using a simple version, follow these instructions: • Build a DIY screen out of recycled pa…
Here are the official links to support DIY Perks:


